Easy as 1–2–3
Three operations, a handful of ordinary tools, and the deck boards go down with no fastener showing on top.
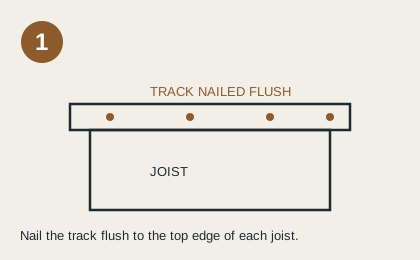
Nail the track to the joist
Nail the SHADOE TRACK to the top edge of each joist. The track should be flush on top of the joist and flat against the side of the joist. The SHADOE TRACK is easily cut with snips to fit in the remainder of the joist that is under 8 feet in length.
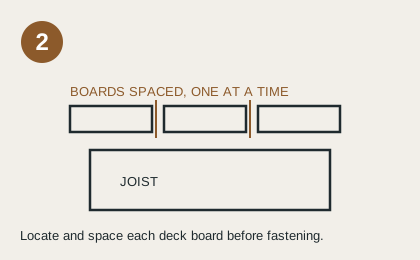
Lay and space the deck boards
Install the deck boards one at a time. The deck boards should be located and properly spaced before securing with screws.
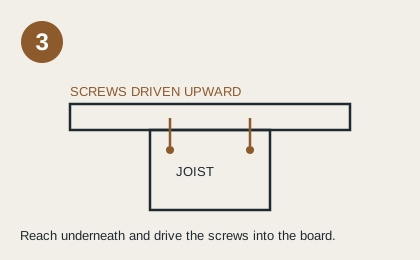
Drive the screws from below
By kneeling on top of the deck board and reaching underneath, the screws are driven through the SHADOE TRACK into the deck board. The track is designed to provide a minimum of two holes for 2" x 4" deck boards.
The SHADOE TRACK joints should be staggered from the adjacent joists.
If the deck is elevated and it is easier to fasten from below the deck, another person should be on top of the deck board, not only to ensure proper spacing, but to provide extra weight allowing the screws to securely anchor the deck boards.
Calculate the number of SHADOE TRACKs required for your deck
Tools required
- Hammer
- Tin snips
- Tape measure
- Drill — a close quarter drill is recommended
Safety first
- Wear gloves when handling — the SHADOE TRACK may have sharp edges.
- Wear proper safety protection when building the deck.